Assembly heat pumps is a complex process that requires expertise and careful planning. In this article, we will detail all the steps of the installation, from the initial preparations to the final commissioning of the system. Successful installation is the key to optimum system performance and is the foundation for efficient heating of your home in the long term.
Pre-preparation and planning
Thorough preparation and planning is essential before installation begins. First, an energy audit of the building should be carried out, including an analysis of heat losses and a determination of the required heat pump output. If the heating system is to be renovated, an expert should inspect the existing heating system or draw up a plan for a new installation. This takes into account a number of factors such as the surface area of the building, insulation, the number and arrangement of heating elements and the desired room temperature.
During the planning phase, it is also important to determine the type of heat pump that will best suit your needs. There are different designs available: air-to-water, water-to-water or ground-to-water. Each has its advantages and limitations, and the choice depends on local conditions, available space and financial capacity. At this stage, a timetable for the execution of the works is also drawn up and the necessary construction interventions are identified.
Choosing a suitable location
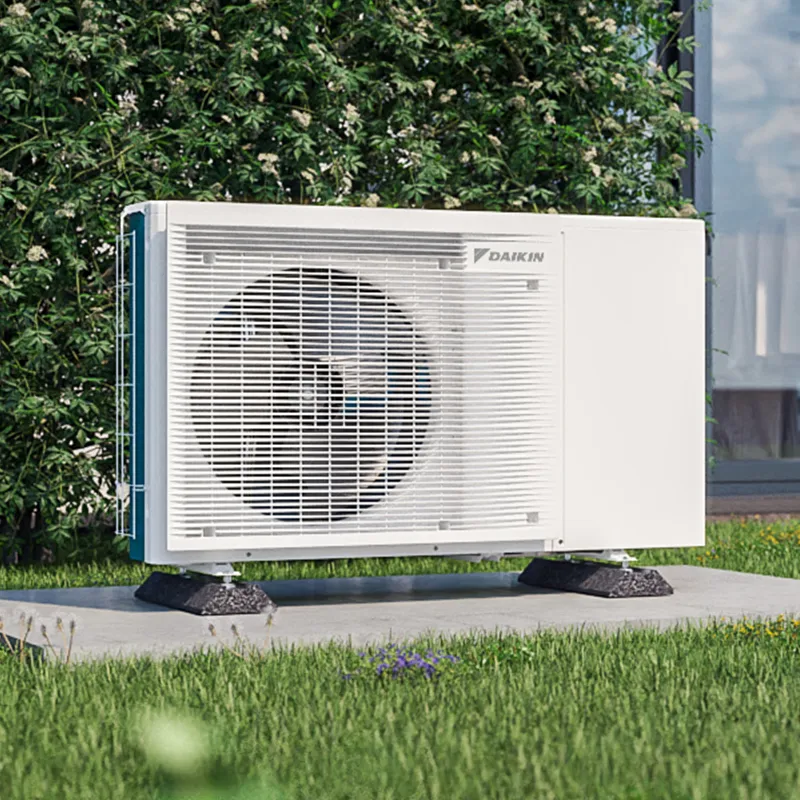
The outdoor unit of the heat pump shall be installed in a position where an unobstructed air flow is ensured. The ideal location is sheltered from strong winds and direct sun, but still sufficiently ventilated. The choice of location should also take into account the possibility of condensate drainage and accessibility for maintenance. Distance from neighbouring properties is also important due to the potential noise and impact on operational efficiency - a minimum distance of at least 3 metres from neighbouring properties is recommended.
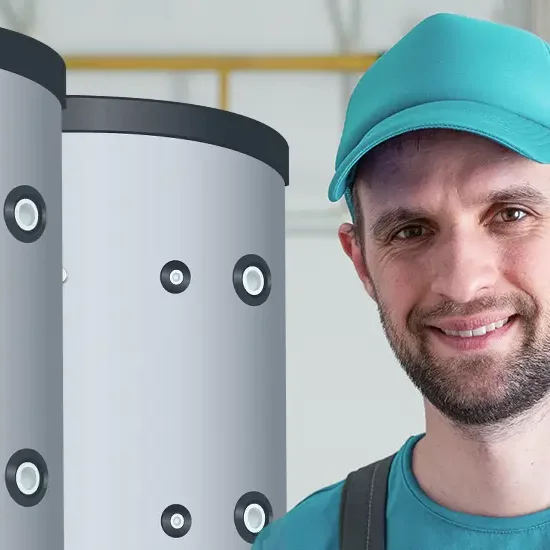
The indoor unit is usually installed in the technical room or boiler room, where there must be sufficient space for maintenance and servicing. The room must be dry, well ventilated and protected from frost. It is also important that the space is large enough to accommodate all necessary components, including the heat storage tank, expansion tank and other system components.
Preparation of the substrate and foundations
The outdoor unit must have a suitable substrate that can bear the weight of the unit and ensure stability in all weather conditions. A concrete foundation or a specially prepared structure is most commonly used, which must be perfectly horizontal and stable. The foundation must be raised at least 10 centimetres from the ground to drain condensation and prevent the influence of snow.
Noise and anti-vibration measures must also be taken into account in the preparation of the foundation. This includes the use of special rubber or spring elements to prevent vibrations from being transmitted to the structure. When installing the wall, the load-bearing capacity of the wall must be checked and suitable supports with anti-vibration elements must be used. The wall must be strong enough to support the weight of the outdoor unit even in adverse weather conditions.
Connecting the outdoor and indoor units
Copper pipes for the cooling system, electrical wiring and communication cables must be installed between the outdoor and indoor units. The pipes must be correctly sized according to the heat pump output and the length of the connection. It is important that copper of the appropriate quality is used and that all joints are made by brazing in a protective nitrogen atmosphere.
Particular attention must be paid to the insulation of the pipes, which must be UV- and weather-resistant. The thickness of the insulation must be sufficient to prevent condensation and heat loss. All connections must be made to strict professional standards and adequate protection against mechanical damage must be ensured. Cables must be properly sized and protected and their installation must be carried out in accordance with the electrical regulations.
Hydraulic connection
The hydraulic connection is one of the most important parts of the installation, as it must ensure optimal flow and efficient heat transfer. It includes the installation of the pipes for the heating system, the installation of the heat storage tank, the expansion tank and the safety elements. The heat storage tank shall be correctly sized according to the capacity of the heat pump and the needs of the building. Its purpose is to provide sufficient hot water and to reduce the number of compressor starts.
The system must be equipped with suitable valves for flow control and venting. Particular attention shall also be paid to the installation of the circulation pumps, which shall be correctly sized for the flow and pressure losses of the system. It is also important to install filters and dirt traps to protect the system components from damage. All components must be easily accessible for maintenance and servicing.
Electrical installation
The electrical connection must be made by a qualified and licensed electrician. A suitable electrical connection with protective elements and a separate power supply for the heat pump must be provided. This includes the installation of an adequate number of fuses, a differential current protection switch and a surge protector.
Correct installation of the room thermostat and other control elements is also important. Modern systems usually include the possibility of control via the internet, for which a suitable connection must be provided. All electrical installation must be carried out in accordance with the applicable regulations and standards, and special attention must be paid to the earthing of the system.
System charging and venting
After installation, the system must first be thoroughly cleaned and all connections tested for tightness. This is followed by vacuuming the system to remove moisture and air from the cooling system. This process should take sufficient time, usually at least 24 hours, to ensure that the moisture is completely removed. Only then can the system be filled with the appropriate amount of refrigerant.
Only an authorised repairer certified to handle fluorinated greenhouse gases can refill the system. The manufacturer's instructions on the amount and type of refrigerant must be followed carefully. After the refrigeration system has been charged, the heating system shall be charged with water or antifreeze. The system must be thoroughly vented as the presence of air in the system can cause a number of operational problems.
Setting up and starting up the system
Start-up is crucial for the system to work properly. It includes setting all the operating parameters such as the heating curve, temperature regimes and timer programmes. The heating curve must be set correctly according to the characteristics of the building and the desired room temperatures. The specific characteristics of the building, such as the heat capacity, the responsiveness of the heating system and the living habits of the occupants, shall also be taken into account.
At this stage, all safety functions are tested and all components are checked for proper functioning. This includes checking the operation of the circulators, valves, temperature and pressure sensors and safety features. It is also important to check the performance of the system under different operating conditions and at different external temperatures.
Documentation and handover of the system
After a successful commissioning, all the necessary documentation must be prepared, including warranty cards, operating and maintenance manuals and a commissioning report. The documentation should also include system schematics, control settings and details of the components used. The first commissioning record is particularly important as a reference for subsequent servicing and maintenance.
The user must be familiarised with the operation of the system and the basic maintenance procedures. This includes an explanation of the operation of the control, the setting of temperatures and timing programmes and the procedures for checking the system. It is also important that the user understands the importance of regular maintenance and knows what to do in the event of malfunctions.
Installing a heat pump is a demanding process that requires expertise, experience and precision in execution. Each step of the installation must be carried out in accordance with the technical regulations and the manufacturer's instructions, as installation errors can have a significant impact on the efficiency and lifetime of the system. It is therefore of the utmost importance that the installation is carried out by a qualified contractor who can ensure that all work is carried out to a high standard and that the appropriate documentation is provided.
Successful installation is a prerequisite for efficient operation of the heat pump and for achieving the expected savings in heating costs. By following all the steps and recommendations outlined, you can ensure that the system will operate reliably and efficiently throughout its lifetime. Regular maintenance and servicing by authorised technicians at the prescribed intervals is also important.